By default, Windows 10 shows around 12 recent items in the jump list. To increase that number, you just need to make an adjustment to one setting in the Windows Registry.
In previous versions of Windows, you could change the number of recent items shown in jump lists with a simple option in taskbar properties. For whatever reason, Microsoft removed this ability in Windows 10. With a minor Registry hack, though, you can still bump that number up.
Increase the Jump List Limit by Editing the Registry Manually
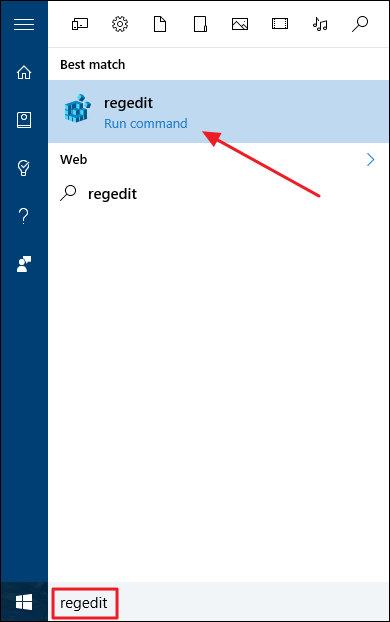
Open the Registry Editor by hitting Start and typing “regedit.” Press Enter to open Registry Editor and give it permission to make changes to your PC.
In the Registry Editor, use the left sidebar to navigate to the following key:
HKEY_CURRENT_USER\SOFTWARE\Microsoft\Windows\CurrentVersion\Explorer\Advanced

Next, you’re going to create and name a new value inside the
Advanced key. Right-click the Advanced folder and choose New > DWORD (32-bit) Value. Name the new value JumpListItems_Maximum and then double-click the value to open its properties window.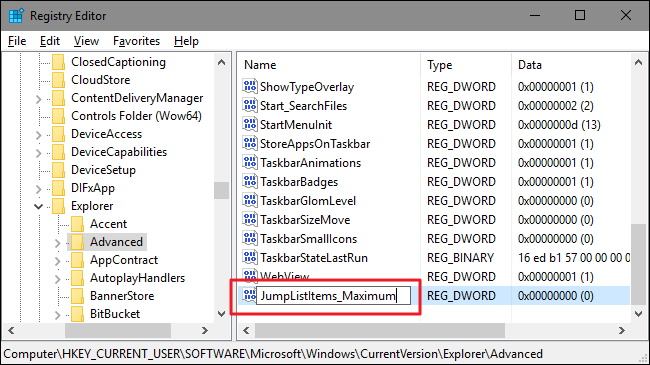
In the value’s properties window, select “Decimal” under Base and then enter the number of recent items you want your jumplists to show in the “Value data” box. We’ve found that 15-20 is a pretty good number that still lets the whole jump list show on most displays. You can go higher if you want; you just might end up needing to scroll your jump lists a bit. When you’re done, click OK.

You can now exit Registry Editor. You don’t need to restart Windows or anything. The change takes place immediately, so just open a jump list to make sure it worked. In our example, we boosted the number to 20 and you can see that many more entries are now shown.

If you ever want to reset the default number of items shown, just return to the
Advanced key and set the JumpListItems_Maximum value to 0.
No comments:
Post a Comment