Upgrade ESXi 6.x to 6.7 via CLI – from VMware OnLine depot
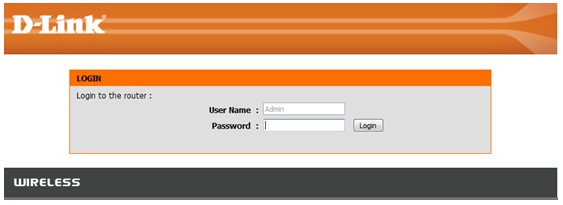
Step 0: Enable swap on local datastore – connect to your ESXi host via HTML5 host client by typing https://IP_or_FQDN/ui and going to the Manage > System > Swap > Edit Settings > Drop Down and Select your local datastore.
Note: If you don’t do that, you’ll end up with an installation error saying “Failed updating the bootloader: Execution of command /usr/lib/vmware/bootloader-installer/install-bootloader failed: non-zero code returned…. return code: 1”

Step 1: Connect to your ESXi host via host client and enable SSH (if you haven’t already done yet), then enter a maintenance mode and enable one firewall rule for web traffic (disabled by default) with this command:
esxcli network firewall ruleset set -e true -r httpClient
Step 2: Enter this command to list all available profiles. We filter only those which are relevant to our case – upgrade to ESXi 6.7
esxcli software sources profile list -d https://hostupdate.vmware.com/software/VUM/PRODUCTION/main/vmw-depot-index.xml | grep -i ESXi-6.7
You’ll see two profiles. We pick the “ESXi-6.7.0-8169922-standard” one for our situation.
Step 3: The upgrade – Execute this command which will use the profile to upgrade the ESXi 6.x host
Note: The -p stands for “profile” and the -d stands for “depot”.
And you should see the message saying that the upgrade was successful.

Reboot the host to complete the upgrade process and you are done.
Upgrade ESXi 6.x to 6.7 via CLI – via “Offline Bundle”
The offline bundle is a file which is available for paid customers only. Free ESXi users do not have an access to this download.

Step 0: The same as for the method above. You have to enable swap on the local datastore.
Step 1: After downloading the “VMware-ESXi-6.7.0-8169922-depot.zip” file, place it (upload it) to a datastore which is visible by your ESXi host. Best would be a local datastore, if this host has some. If not, it can also be a shared datastore too.
Put your host into maintenance mode, enable SSH if you haven’t done yet.
Step 2: Execute this command to upgrade your ESXi 6.x to 6.7
esxcli software profile update -p ESXi-6.7.0-8169922-standard -d /vmfs/volumes/your_datastore/VMware-ESXi-6.7.0-8169922-depot.zip
Where “your_datastore” is the name of the datastore where you have uploaded the Offline bundle file.
After checking that your upgrade was successful, reboot your host. You should see a message saying that the upgrade completed successfully.
Wrap Up:
As you can see, both methods are similar where the first one uses VMware Online depot (accessible to anyone) and the second one supports environments without an Internet access. Both methods are supported upgrade methods.
You can use those upgrade possibilities if you do not use VMware vCenter server. However If you have vCenter server license, it’s pretty much easier to use VMware Update Manager (VUM) whcih is the tool to conduct those upgrades, especially for clustered environments.


 (lower-left corner), select Control Panel, and then select Programs and Features.


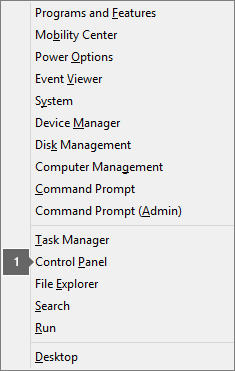
 (lower-left corner), and choosing Control Panel.