Please follow the steps below:
1- Open the Dynamics AX installer/media the double click the autorun.exe


3- Select the components that you want to install. Here, we are going to select the Database, Application Object Server(AOS), and the client Component. then press the Validate Button.

4- Make sure that there is no errors then Click Finish. if any error appears you must fix it before continue.

5- Go back to the Installer main windows and click "Microsoft Dynamics AX Components".

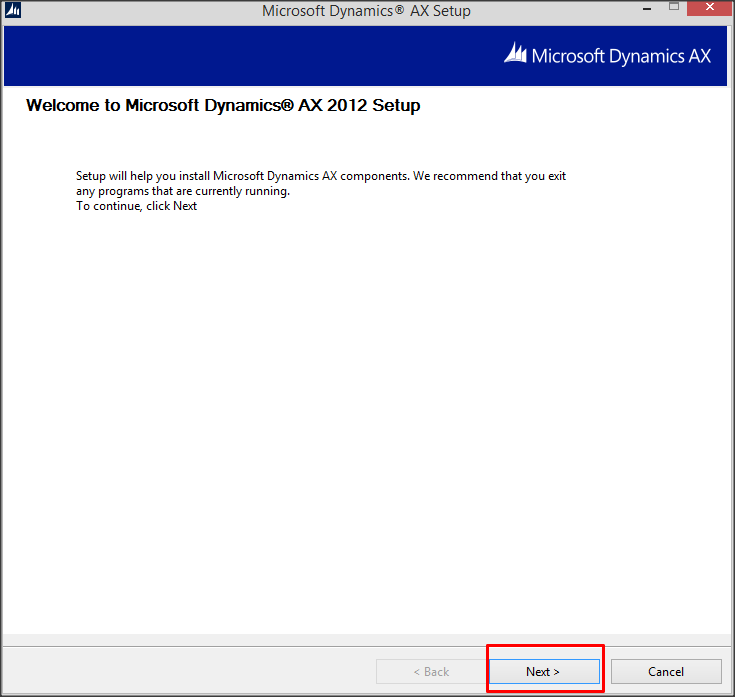
6- Press next in the welcome screen.
7- Select "I Accept the license terms" then press Next Button.

8- Select "I Don't want to join the program at this time" then click next.

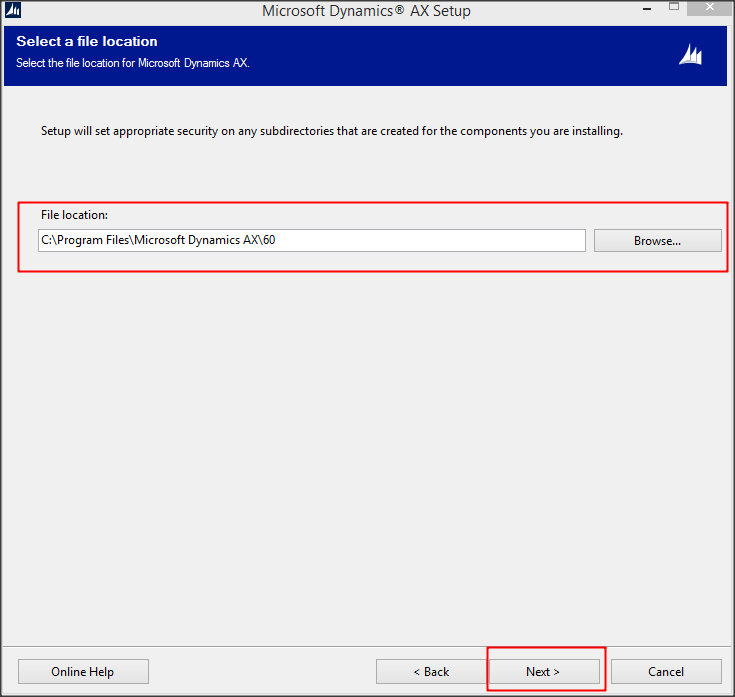
9- Select file location then click next.
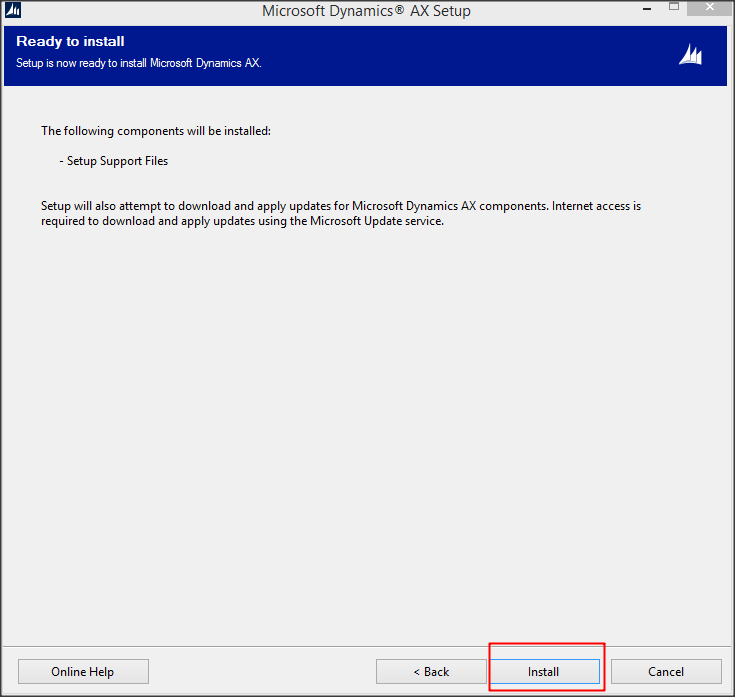
10- Click Install.
11- Wait until the Dynamics AX setup support files has been installed.

12- In the installation screen Select "Microsoft Dynamics AX" then click next.

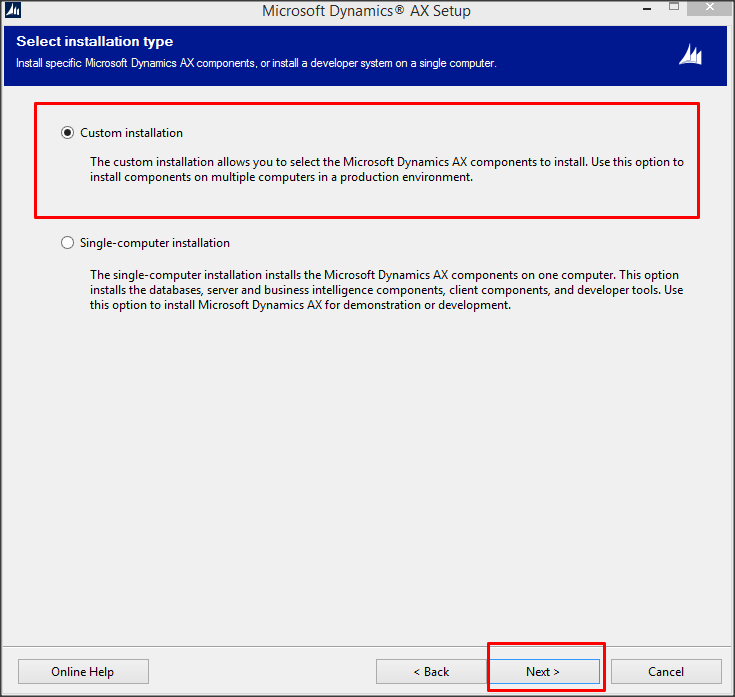
13- In the installation type screen Select "Custom Installation" then click next.
14- Now Select the Database Component alone. then click next.

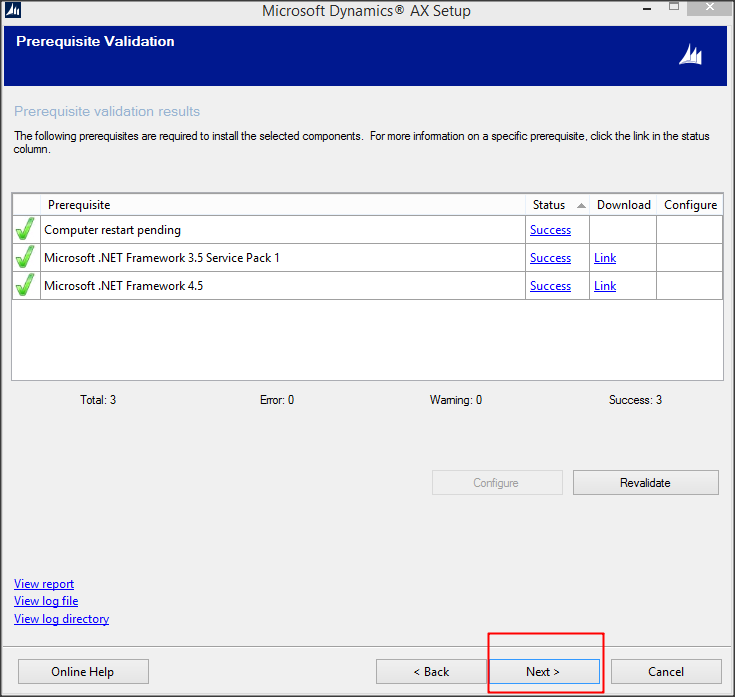
15- In the Prerequisite validation screen make sure that everything is ok then click Next.
16- then Select Create New Databases option then click next.

17- You may change the databases name or you can accept the default values. when you finish click next.
18- Check the foundation Model then click next.

19- Ensure that everything is OK then click Next.

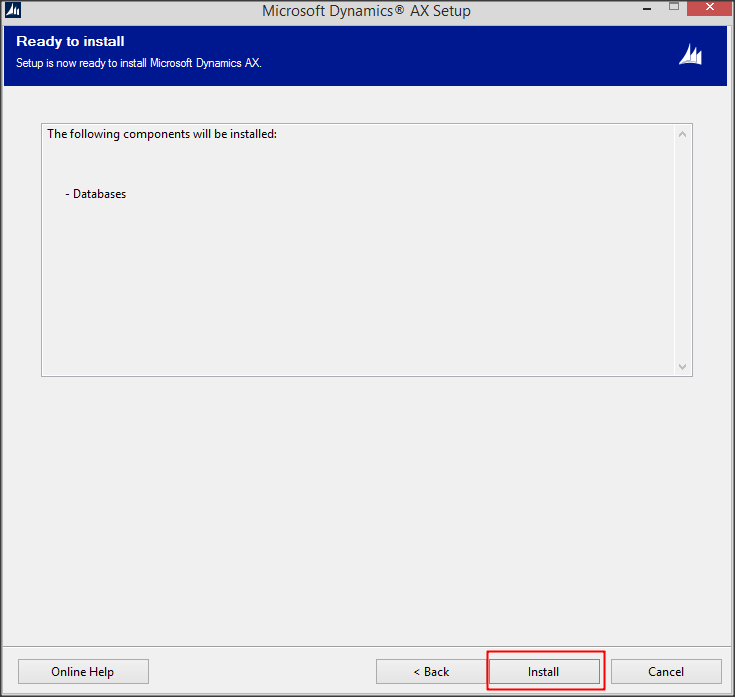
20- Click Install.
21- Click Finish.

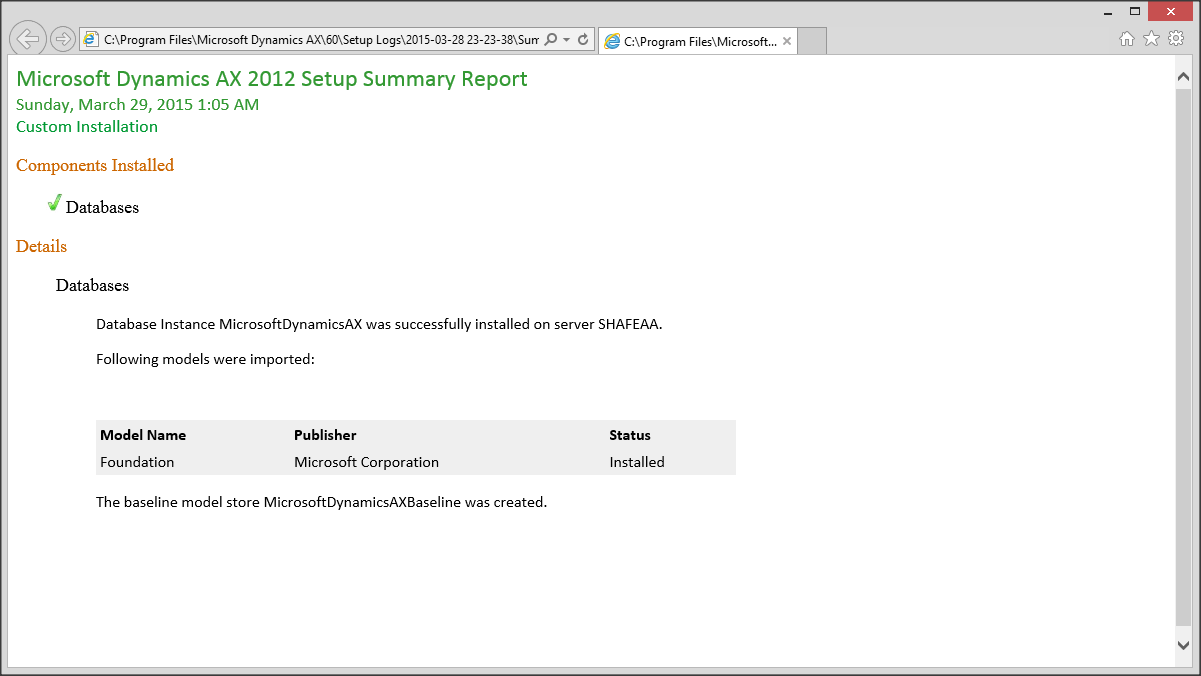
22- Check the log to make sure that the database was installed successfully.
23- Now Repeat steps 5 and 6.
24- In the installation screen Select "Microsoft Dynamics AX" then click next.

25- In the installation type screen Select "Custom Installation" then click next.

26- Now Select the Application Object Server(AOS), Client Complainants then click next.

27- Ensure that everything is OK then click Next.

28- Select file location then click next.

29- In the "Connect to the databases" Screen select the server name, The databases names then click Next.
30- Leave the port information as is. then click Next.

1- Open the Dynamics AX installer/media the double click the autorun.exe
2- Click the"Validate system requirements" to make sure that all prerequisites were installed.
3- Select the components that you want to install. Here, we are going to select the Database, Application Object Server(AOS), and the client Component. then press the Validate Button.
4- Make sure that there is no errors then Click Finish. if any error appears you must fix it before continue.
5- Go back to the Installer main windows and click "Microsoft Dynamics AX Components".
6- Press next in the welcome screen.
7- Select "I Accept the license terms" then press Next Button.
8- Select "I Don't want to join the program at this time" then click next.
9- Select file location then click next.
10- Click Install.
11- Wait until the Dynamics AX setup support files has been installed.
12- In the installation screen Select "Microsoft Dynamics AX" then click next.
13- In the installation type screen Select "Custom Installation" then click next.
14- Now Select the Database Component alone. then click next.
15- In the Prerequisite validation screen make sure that everything is ok then click Next.
16- then Select Create New Databases option then click next.
17- You may change the databases name or you can accept the default values. when you finish click next.
18- Check the foundation Model then click next.
19- Ensure that everything is OK then click Next.
20- Click Install.
21- Click Finish.
22- Check the log to make sure that the database was installed successfully.
23- Now Repeat steps 5 and 6.
24- In the installation screen Select "Microsoft Dynamics AX" then click next.
25- In the installation type screen Select "Custom Installation" then click next.
26- Now Select the Application Object Server(AOS), Client Complainants then click next.
27- Ensure that everything is OK then click Next.
28- Select file location then click next.
29- In the "Connect to the databases" Screen select the server name, The databases names then click Next.
30- Leave the port information as is. then click Next.
31- Specify the AOS Account. in our case we are going to select Domain Account then click next.
32- Warring of using the user account will appear. Click OK.

33- Select the Client preferences then Click Next.

34- Ensure that everything is OK then click Next.

35-Click Install.

36-Wait Until the installation process completed. then click Finish Button.

37-Check the log to make sure that tall components was installed successfully.

38- Restart the windows then run AX.
39-Congratulation AX was installed successfully. In next article we are going to illustrate how to complete the initialization checklist.

33- Select the Client preferences then Click Next.
34- Ensure that everything is OK then click Next.
35-Click Install.
36-Wait Until the installation process completed. then click Finish Button.
37-Check the log to make sure that tall components was installed successfully.
38- Restart the windows then run AX.
39-Congratulation AX was installed successfully. In next article we are going to illustrate how to complete the initialization checklist.
No comments:
Post a Comment