Procedure to uninstall a SQL Server failover clustered instance
To update or remove a SQL Server failover cluster, you must be a local administrator with permission to login as a service on all nodes of the failover cluster.To remove a node from an existing SQL Server failover cluster
- Insert the SQL Server installation media. From the root folder, double-click setup.exe. To install from a network share, navigate to the root folder on the share, and then double-click Setup.exe.
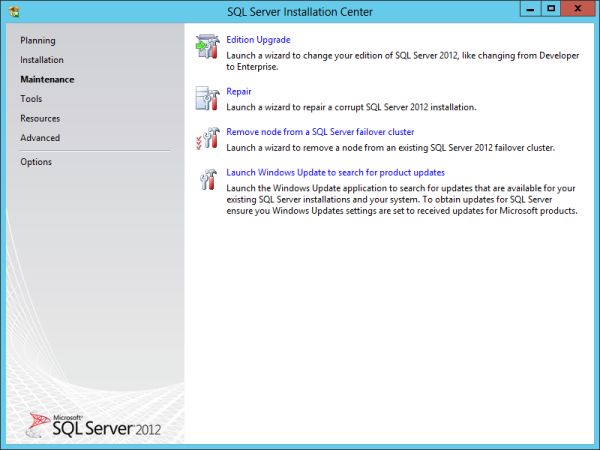
- The Installation Wizard launches the SQL Server Installation Center. To remove a node to an existing failover cluster instance, click Maintenance in the left-hand pane, and then select Remove node from a SQL Server failover cluster.
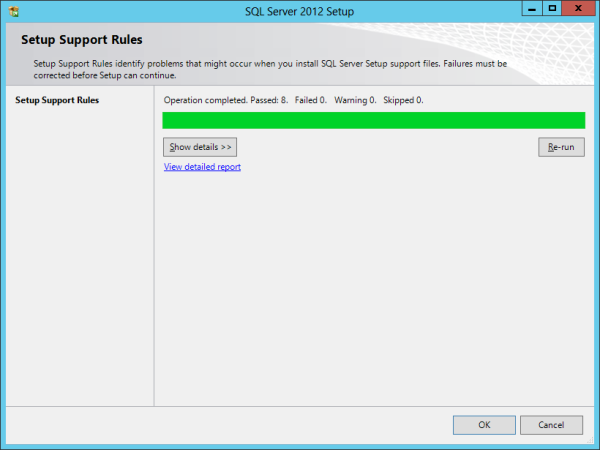
- The System Configuration Checker will run a discovery operation on your computer. To continue, Click OK. .
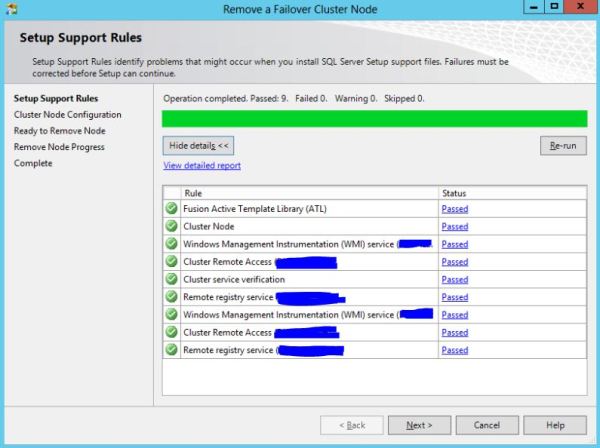
- After you click install on the Setup Support Files page, the System Configuration Checker verifies the system state of your computer before Setup continues. After the check is complete, click Next to continue.
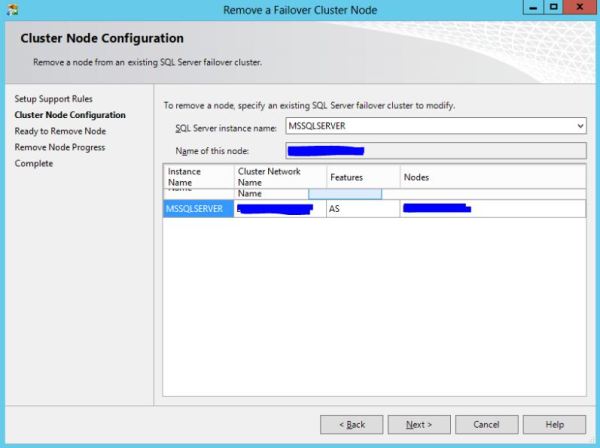
- On the Cluster Node Configuration page, use the drop-down box to specify the name of the SQL Server failover cluster instance to be modified during this Setup operation. The node to be removed is listed in the Name of this node field.
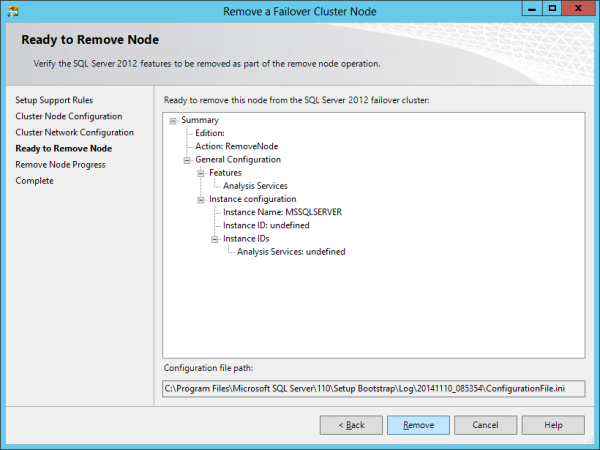
- The Ready to Remove Node page displays a tree view of options that were specified during Setup. To continue, click Remove.
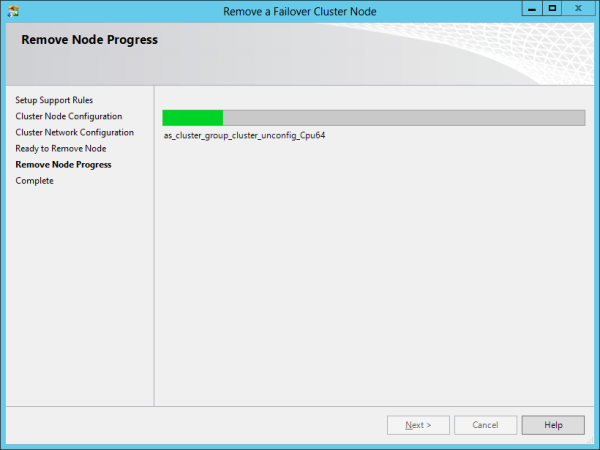
- During the remove operation, the Remove Node Progress page provides status.
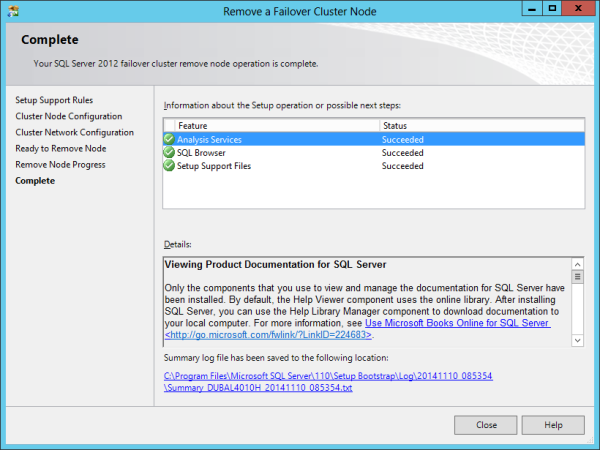
- The Complete page provides a link to the summary log file for the remove node operation and other important notes. To complete the SQL Server remove node, click Close.
Screenshots:
Repeat above steps on all nodes used for the SQL Server clustered instance. Make sure you uninstall the active node last.
No comments:
Post a Comment